This tip is very basic, but you will be amazed by the dirt and grime that accumulate on your smartphone lens. You will often find a lot of smudges and dirt caused by your pockets and the environment. So do yourself a favor and get in the habit of quickly wiping your phone lens before beginning a photoshoot. It’ll make your photos look much sharper!

Generally, when you point your smartphone at a subject, the camera will guess what you want to photograph. For example, if it recognizes faces, it’ll focus on the faces; if it recognizes a person, it’ll focus on the person.
This method of autofocusing can work well, especially if you’re photographing a clear scene with the main subject. But when the scene is more complex – you’re photographing a bird surrounded by trees, for example – autofocus may get the focusing wrong, and the shot will turn out blurry.
So, what do you do?
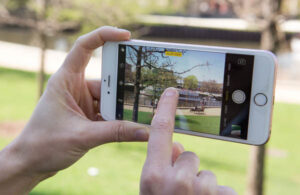
Instead of letting your smartphone’s algorithms determine your point of focus, simply tap on your subject on the screen, and then – voila! – you’ll get a sharp image.
Photographing in natural light gives you pure and clean photo. You should choose morning and evening light thanks to its golden hues and soft, flattering effect. And even high-contrast light produced by the bright sun can look amazing.

If you shoot in heavy shade or at night, you can still use natural light, but you’ll need to use a tripod to prevent the image from getting blurred. (Fortunately, there are plenty of high-quality and cheap smartphone tripods available in the market!)
Pro SLRs generally have framing grids in the viewfinder window to help you better square up shots and conform to compositional guidelines like the rule of thirds. (This rule applies as much to smartphones as they do to pro cameras.)
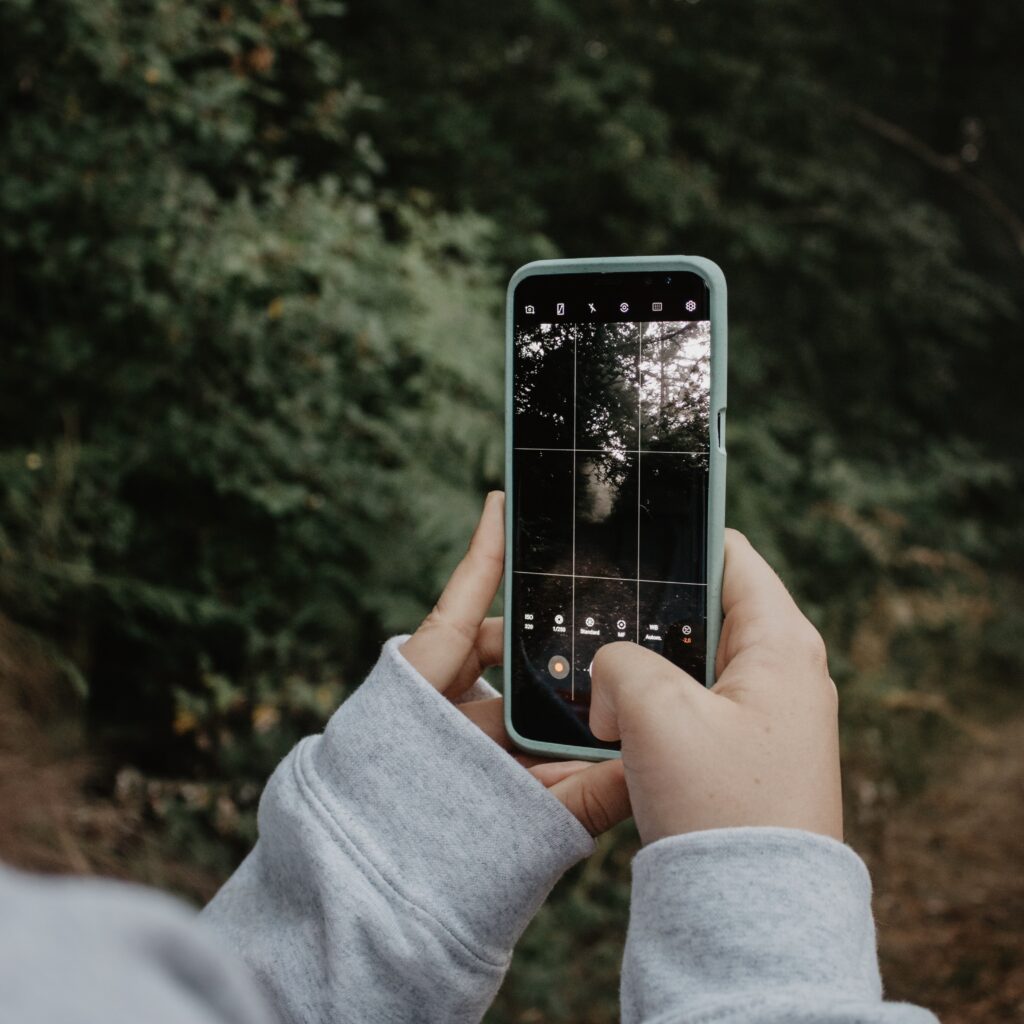
You can turn it on in your phone’s camera app. Adding a grid line gives you help in keeping the horizon straight and is a big plus for portraits in front of famous vintage-point.
Smartphones are incredibly lightweight devices and are very thin for a better fit in your pocket than most dedicated cameras.

For better snapshots, take some time to set yourself before capturing a photo. Stand steady, hold your phone like a camera (with both hands) and take advantage of any physical controls for exposure—set the volume button to take photos then you can more easily hold your phone with two hands when clicking an image.
Usually, the flash on the smartphone isn’t great and, in many cases, you’ll get much better results without using it. With increasing performance in low light conditions, turning off the flash can be the best thing you can do. Shooting at a concert in dark conditions? The flash isn’t going to reach the stage anyway, so turn it off. At a zoo shooting through glass? You’re not only taking a bad photo, but you’re also scaring the animals.
But flashes can be useful. The rear flash can be effective when you’re shooting in daylight and the subject is in shadow – it can give some great portrait results. The front flash can often help you get a selfie in dark conditions where you’d otherwise get nothing at all. So, while we’d say that 90 percent of the time, you’re better off without it – remember it’s still there.

Getting good pictures from your phone doesn’t start and end with your camera app of choice. You can also install a photo editing app to the mix to tweak your shots before sharing them with the world.

In addition to the native photo gallery and editing apps supplied by Apple and Google, alternatives such as Snapseed, Adobe Photoshop Express, etc can do wonders with your pictures. Adobe is even incorporating AI (Artificial Intelligence) into its photo editing apps.
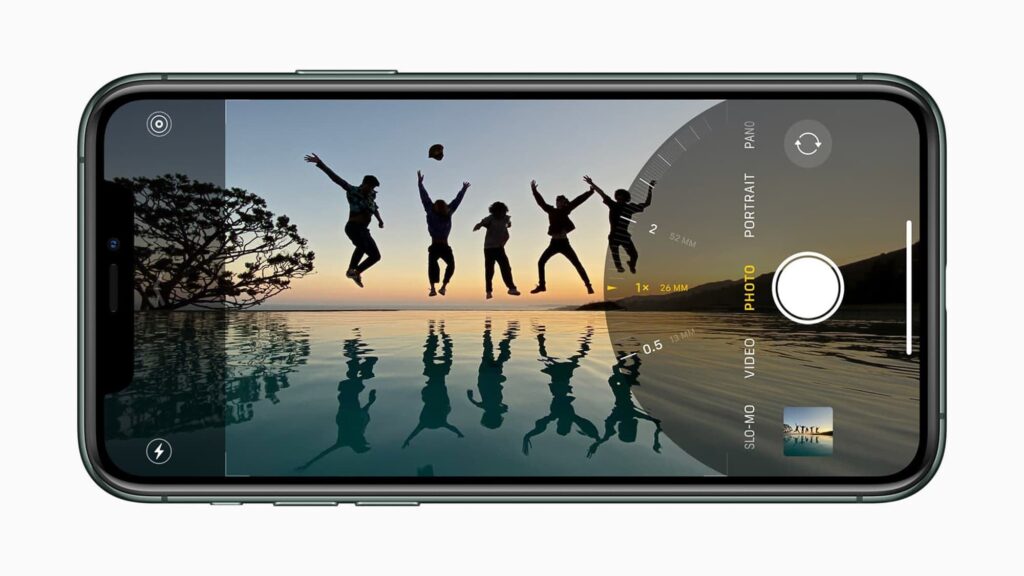
Reflections are an excellent way to provide a new perspective on your subject. You just need to simply train your eye to look for them.
On a rainy day, check out the puddles that form on a city street or country road. The reflection of a beautiful hillside or city skyline on a still lake or river can create a mesmerizing, symmetrical image. Even a pair of mirrored sunglasses or the window of a building can provide great reflections that will offer you gorgeous results.
Click here to read more blogs….